Snowflake
Overview
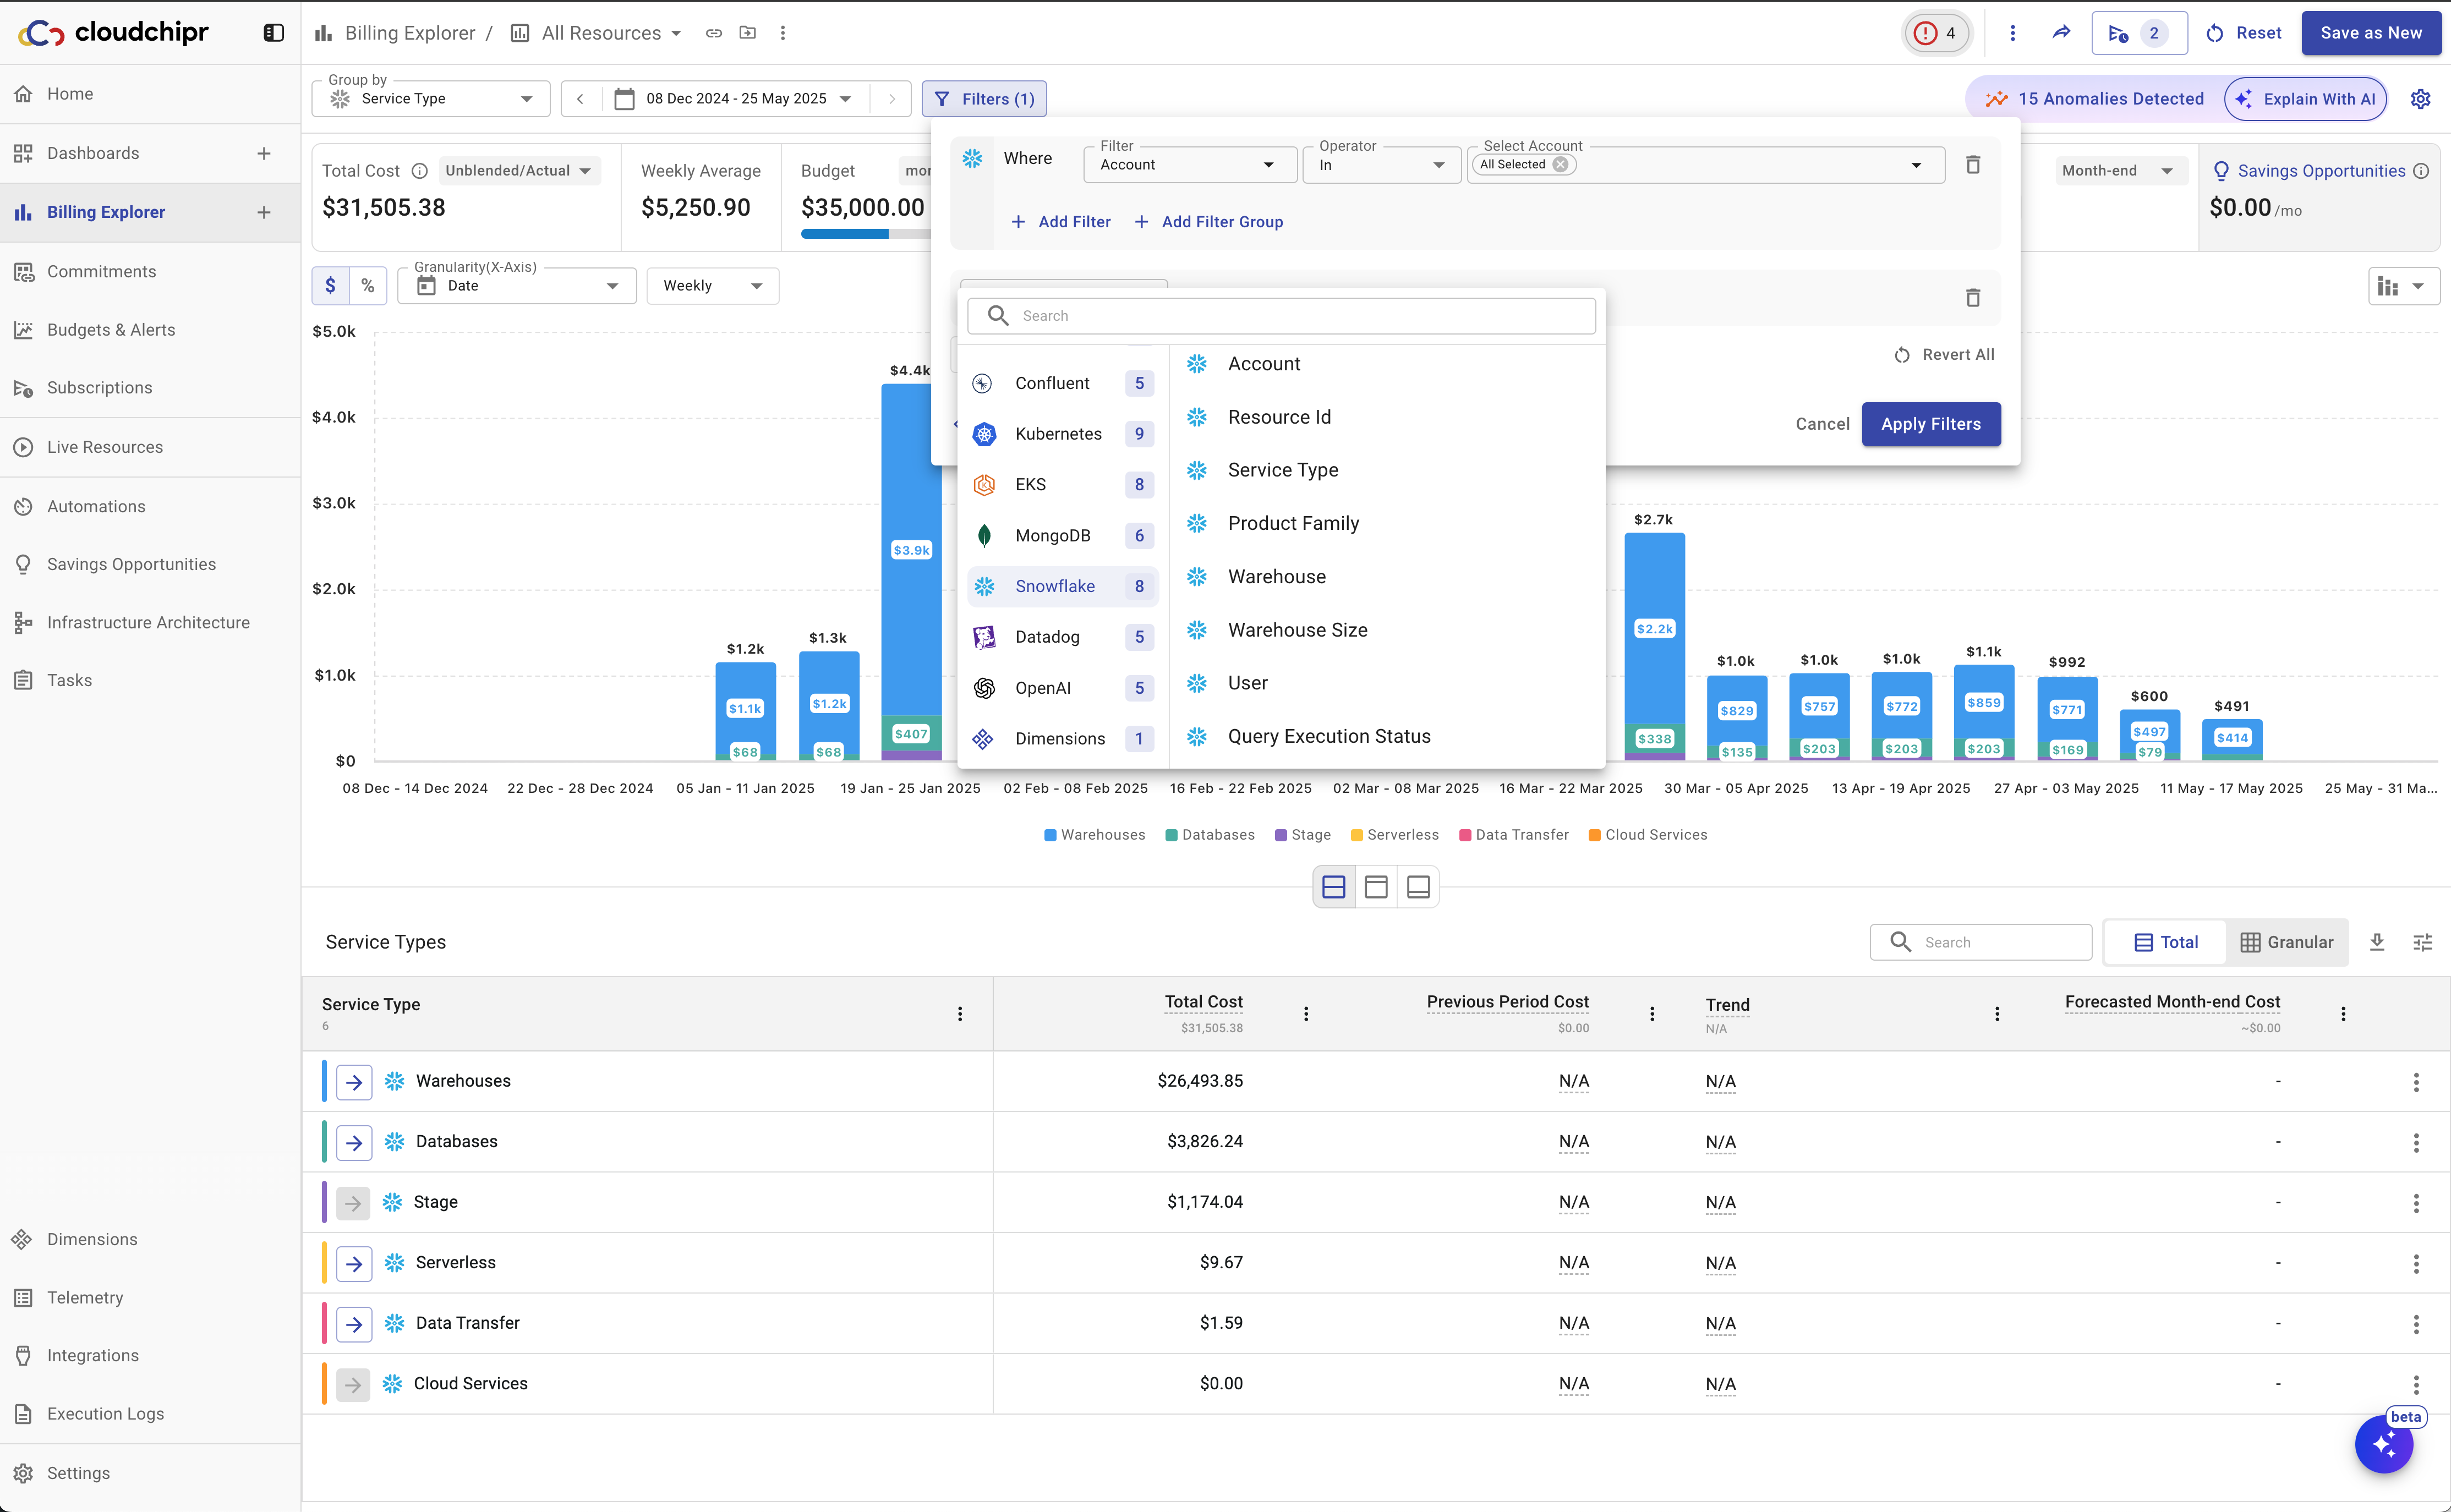
You can connect your Snowflake billing data to Cloudchipr to track and analyze resources and costs in Billing Explorer. Once connected, you can group and view costs by dimensions such as:
- Account
- Resource ID
- Service Type
- Product Family
- Warehouse
- Warehouse Size
- User
- Query Execution Status
Connect Snowflake
To connect Snowflake billing data, follow these steps:
Step 1. Details
-
Click Generate Command to generate the setup command.
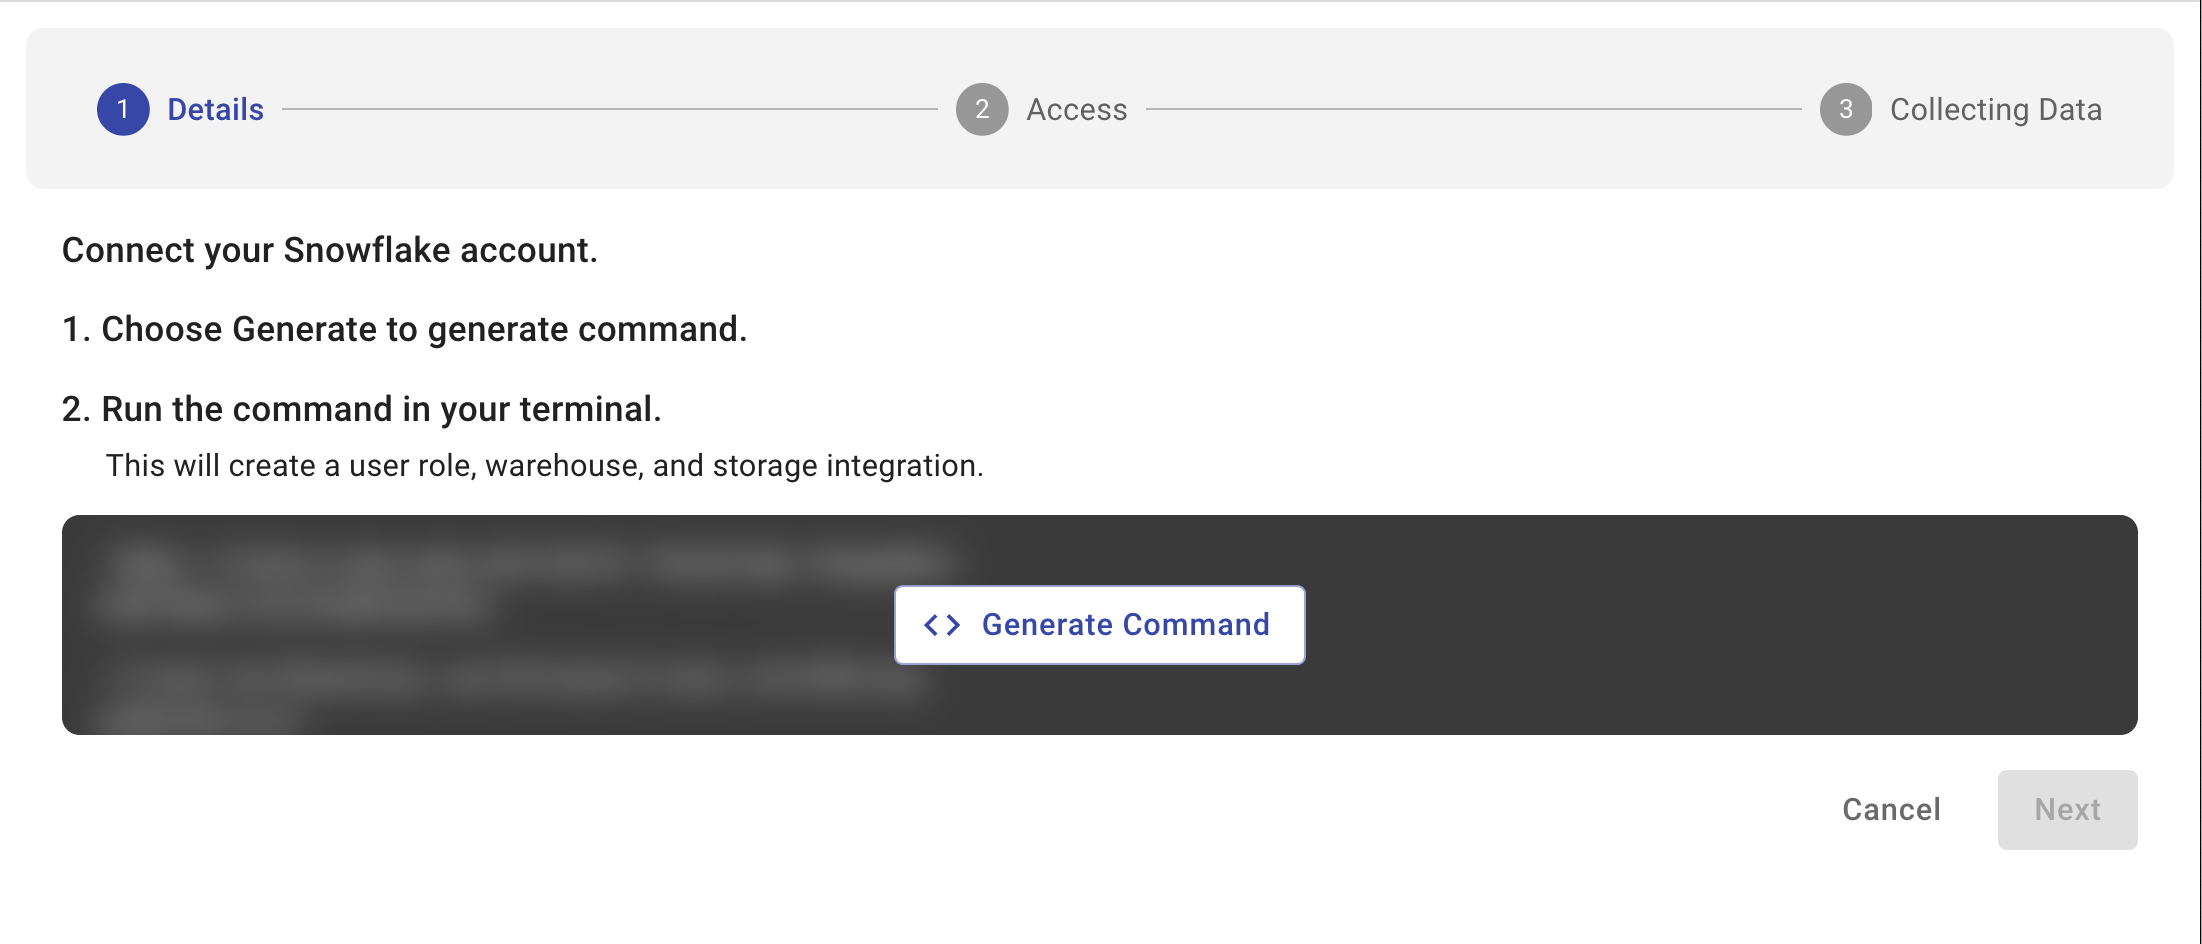
-
Run the generated command in your terminal.
- This will create a user role, warehouse, and storage integration.
-
Make sure you have the right access!
To run this setup script, your user account must have the ACCOUNTADMIN role. If you're unsure whether you have this access, run:SHOW GRANTS TO USER <your_username>
Step 2. Access
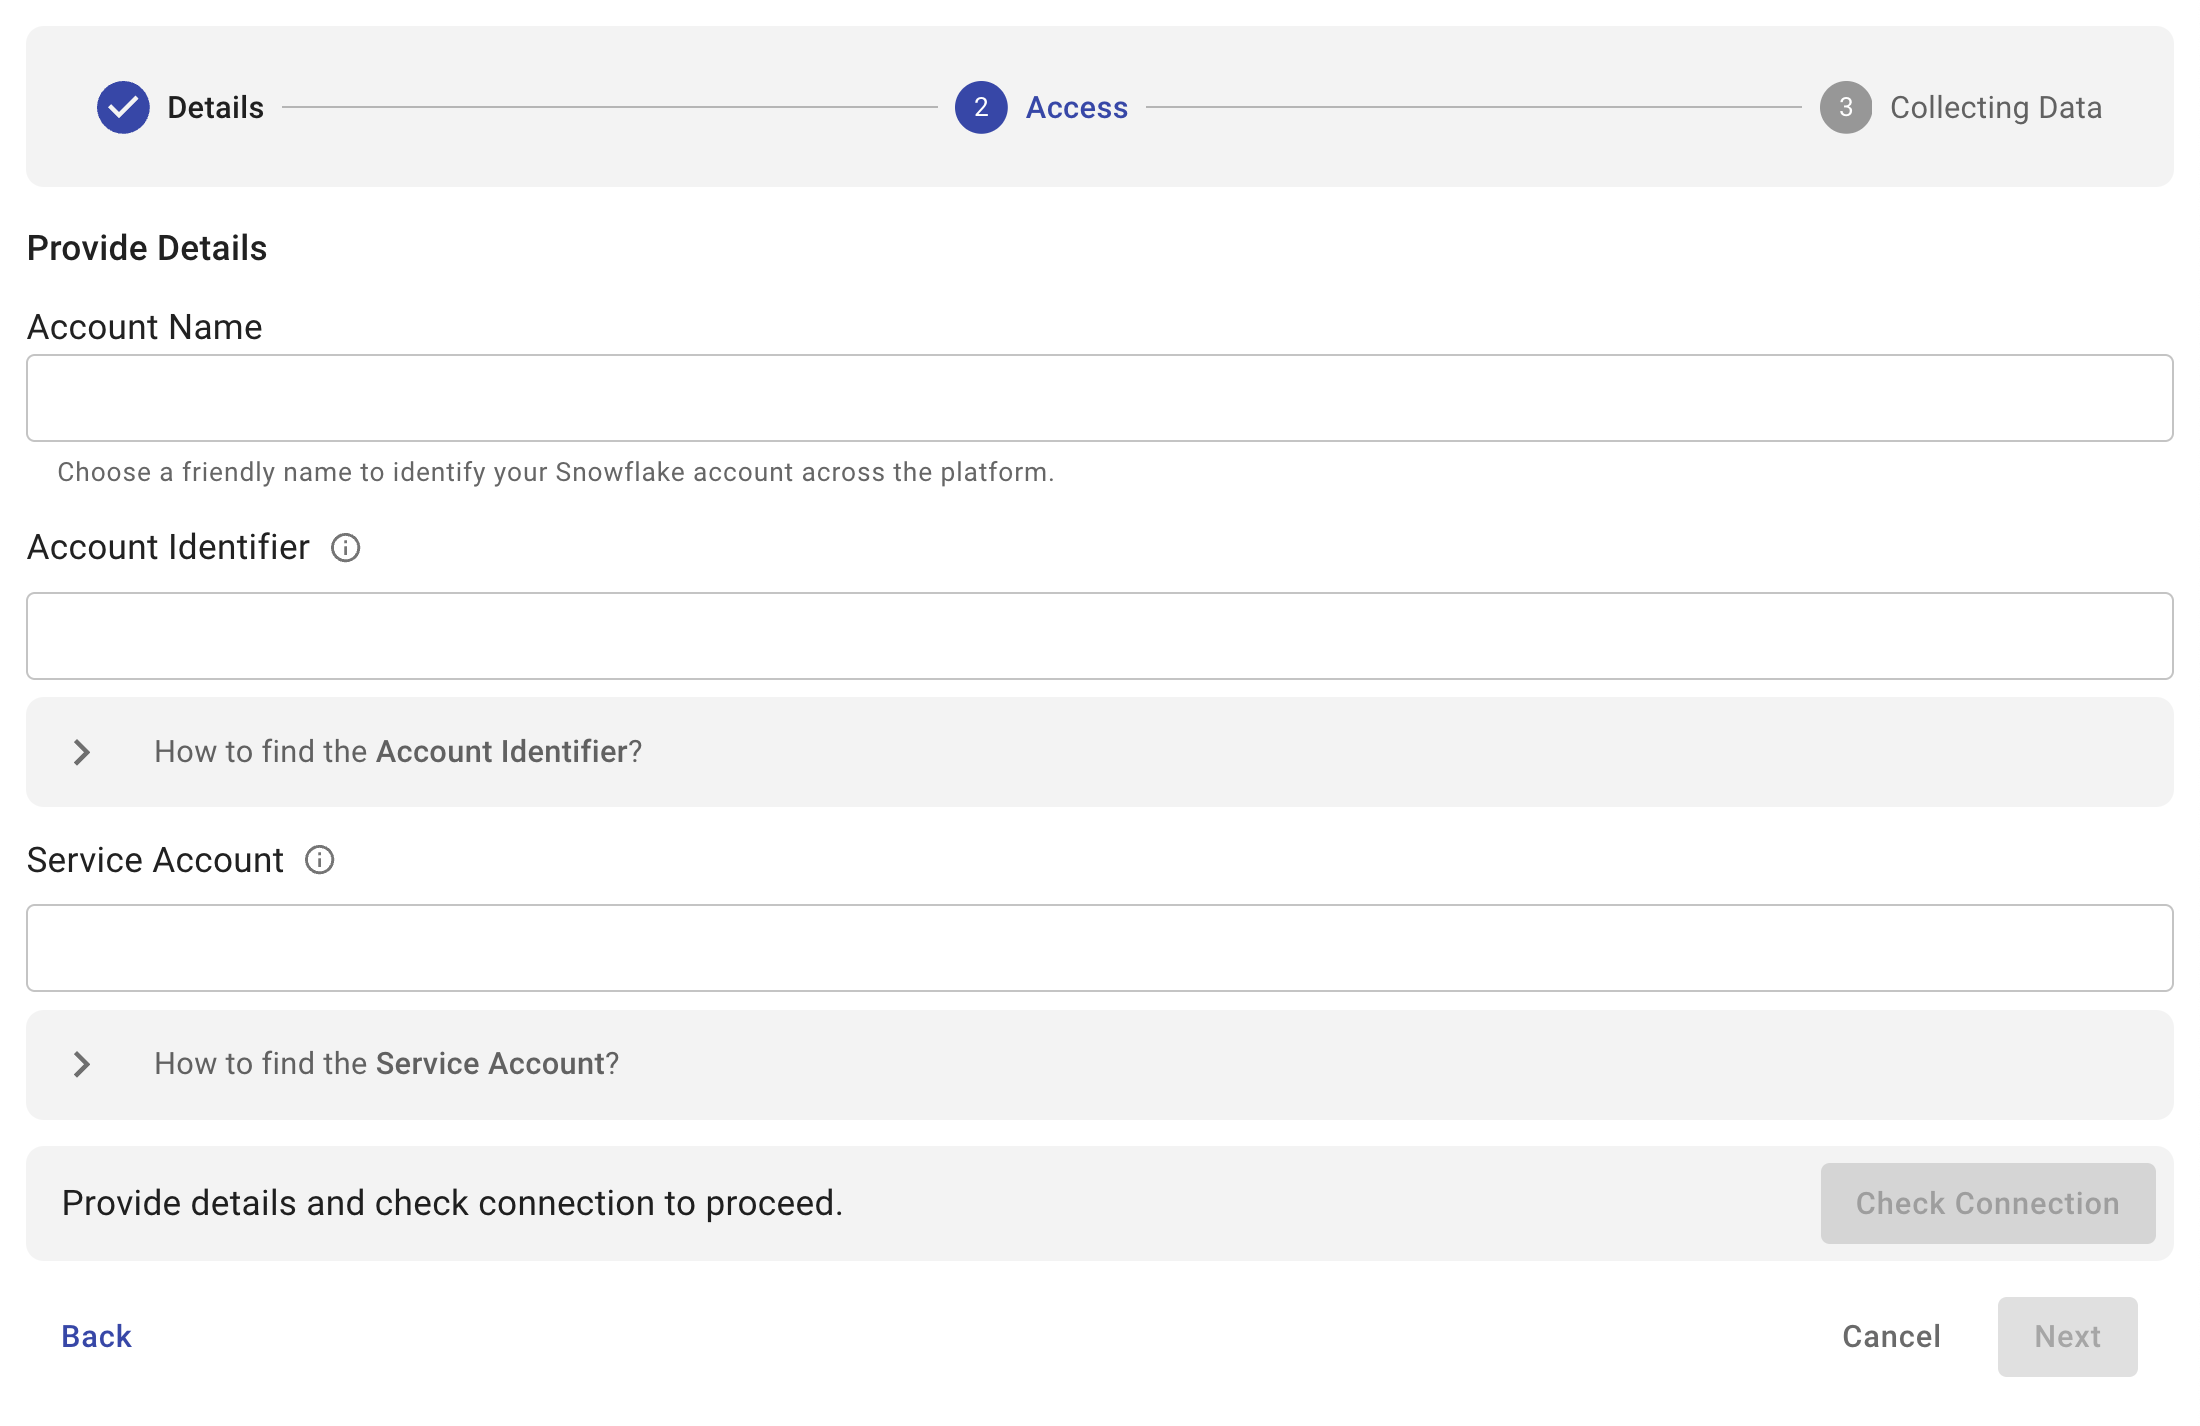
- Enter your connection details:
- Account Name – A friendly name to identify your Snowflake account in Cloudchipr.
- Account Identifier – The Snowflake account identifier
-
How to find the Account Identifier?
SELECT 'Org:' || CURRENT_ORGANIZATION_NAME() || ' Account:' || CURRENT_ACCOUNT_NAME();
-
- Service Account – The associated service account
-
How to find the Service Account?
DESC INTEGRATION cloudchipr_data; SELECT "property", "property_value" FROM TABLE(RESULT_SCAN(LAST_QUERY_ID())) WHERE "property" = 'STORAGE_GCP_SERVICE_ACCOUNT';
-
- Click Check Connection to verify that the details are correct.
- Once validated, you will see a confirmation message: Successfully Connected.
- Once validated, you will see a confirmation message: Successfully Connected.
Step 3. Collecting Data
- After connection is established, Cloudchipr begins collecting data from Snowflake.
Once the setup is complete, your Snowflake connection will appear in the connections table. You can then view and analyze your Snowflake billing data in Billing Explorer.
Updated 8 months ago