Slack
Integrate Slack and send notifications manually and automatically.
Cloudchipr allows you to integrate your Slack workspace and send notifications directly from the platform and automation workflows. You don't have to manually copy the resource name/ID, tags, and other metadata when you find a resource worth your team paying attention to. Cloudchipr includes all the necessary resource metadata in the message, such as tags, price, and creator, when you send a notification directly from the platform.
Follow these steps to integrate your Slack.
1. Go to the Integrations section from the left-side menu
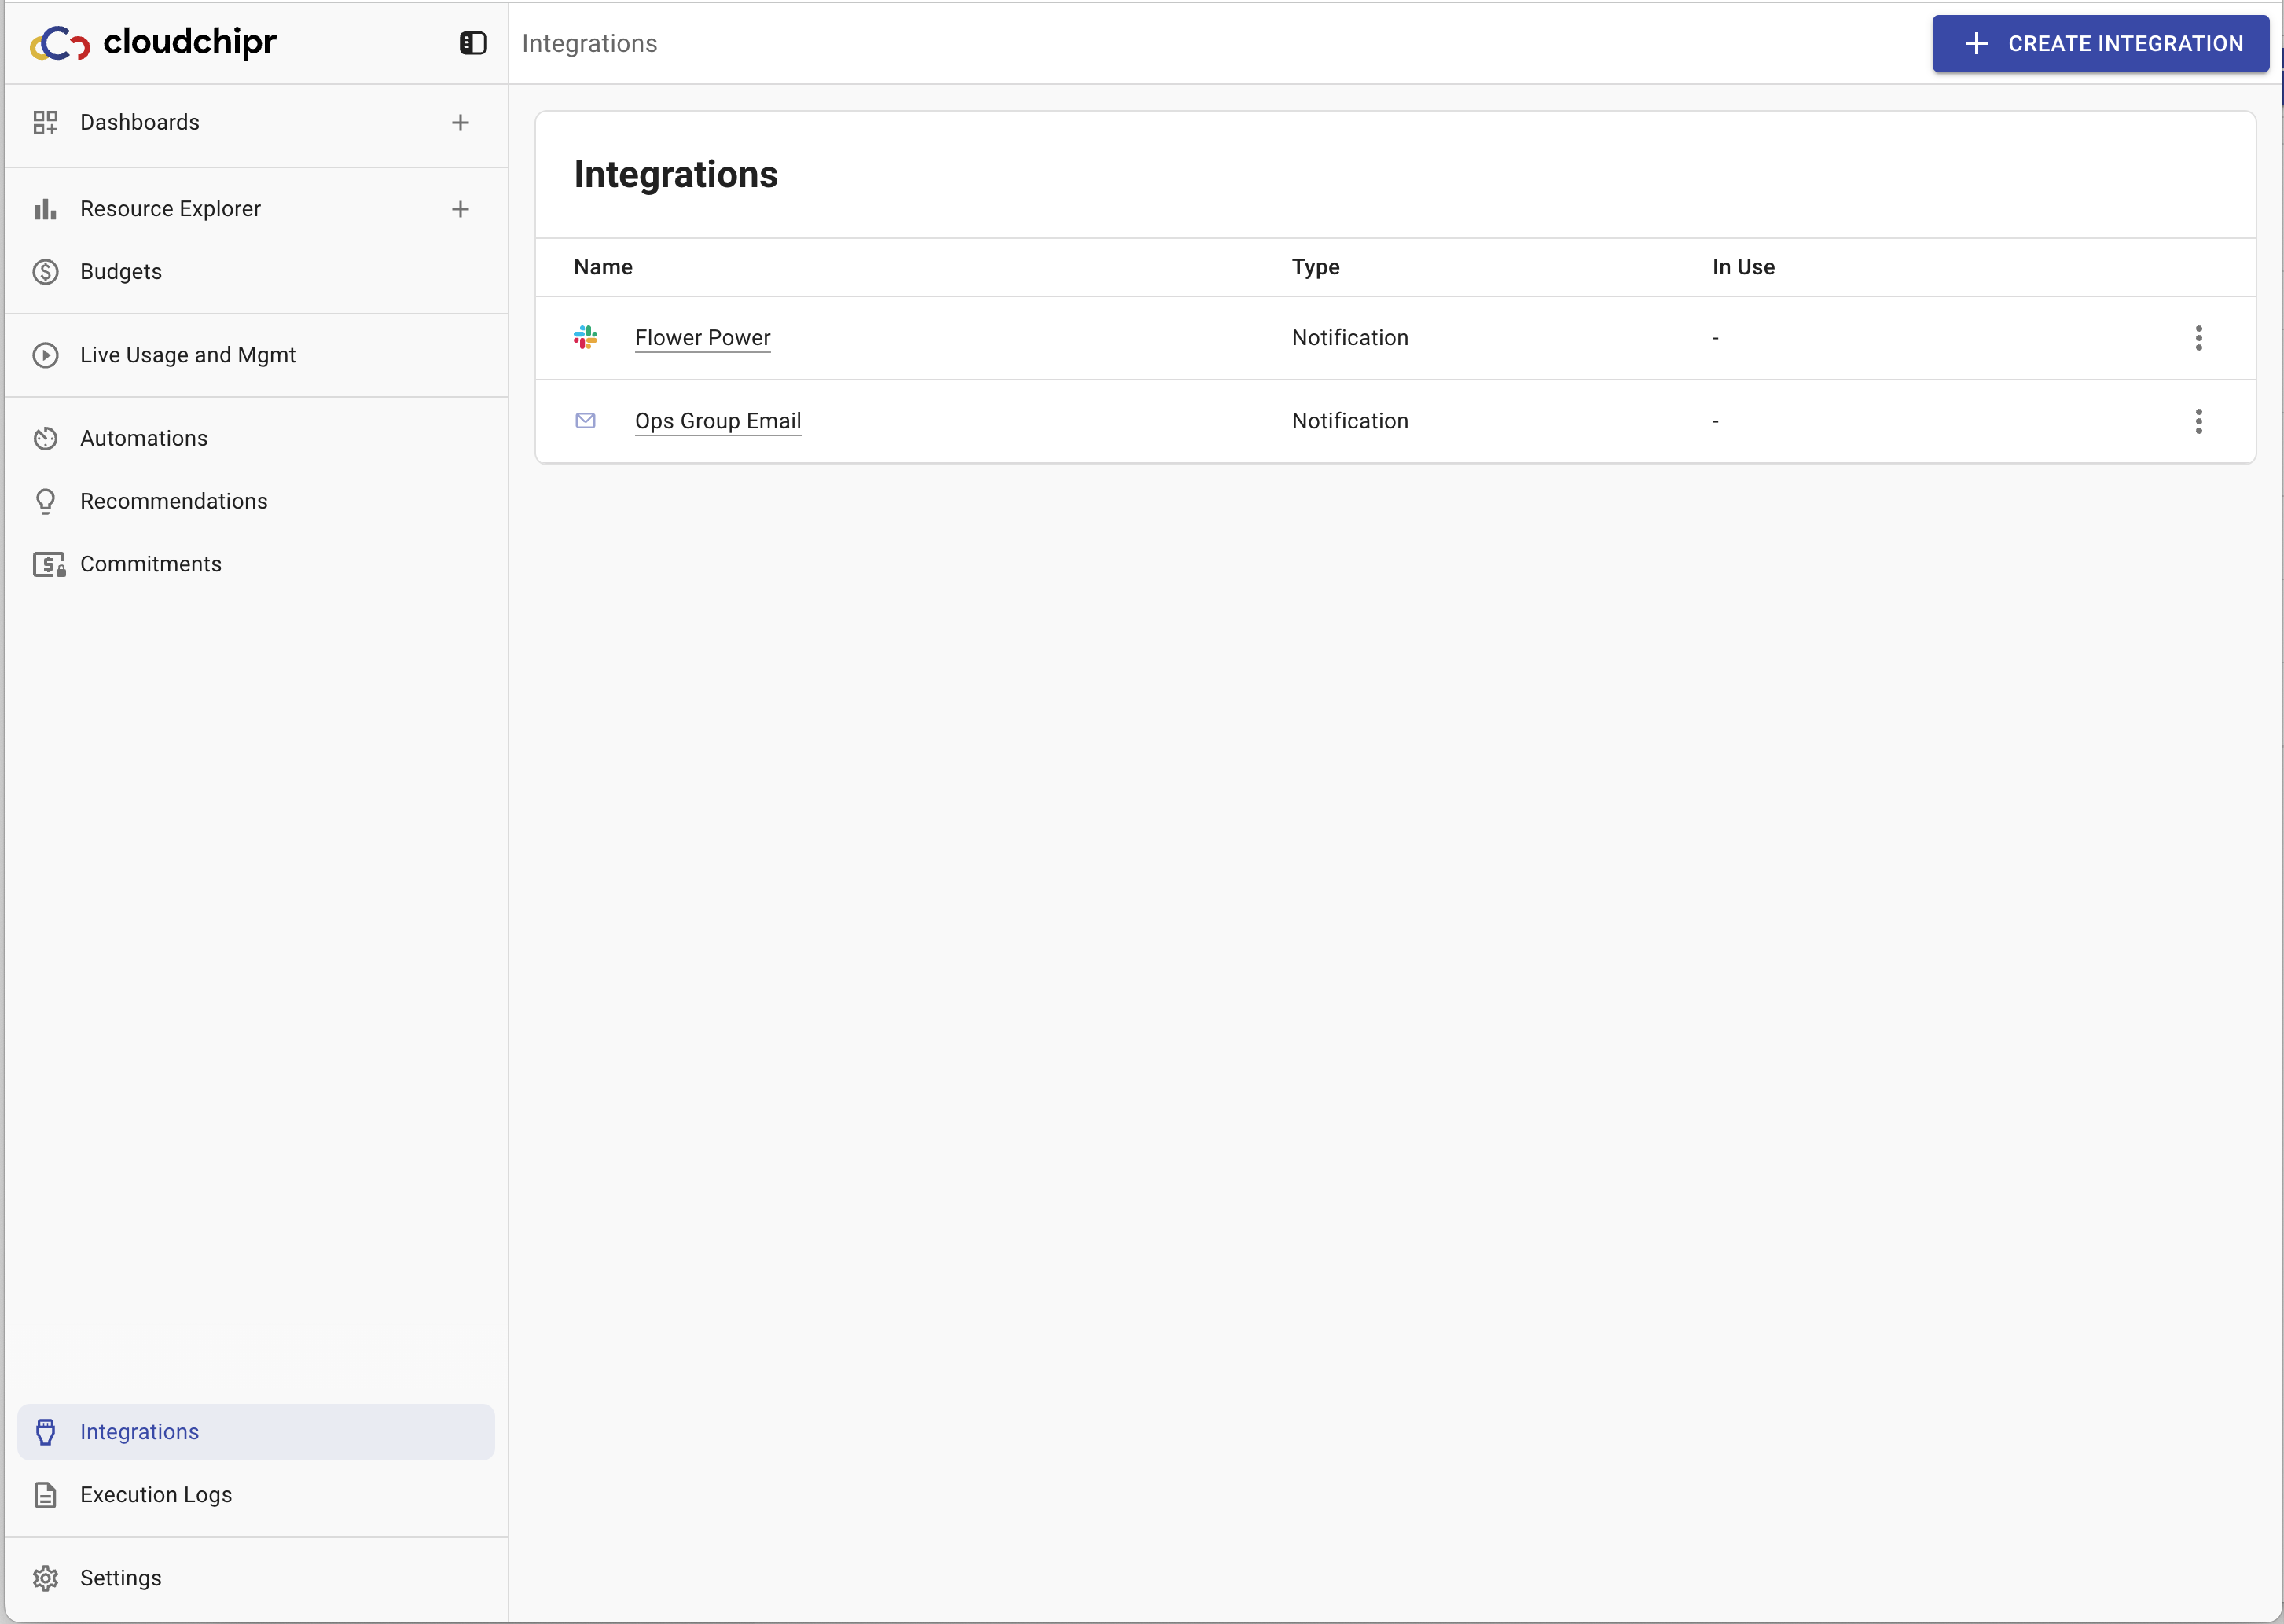
2. Click Create Integration on the top right
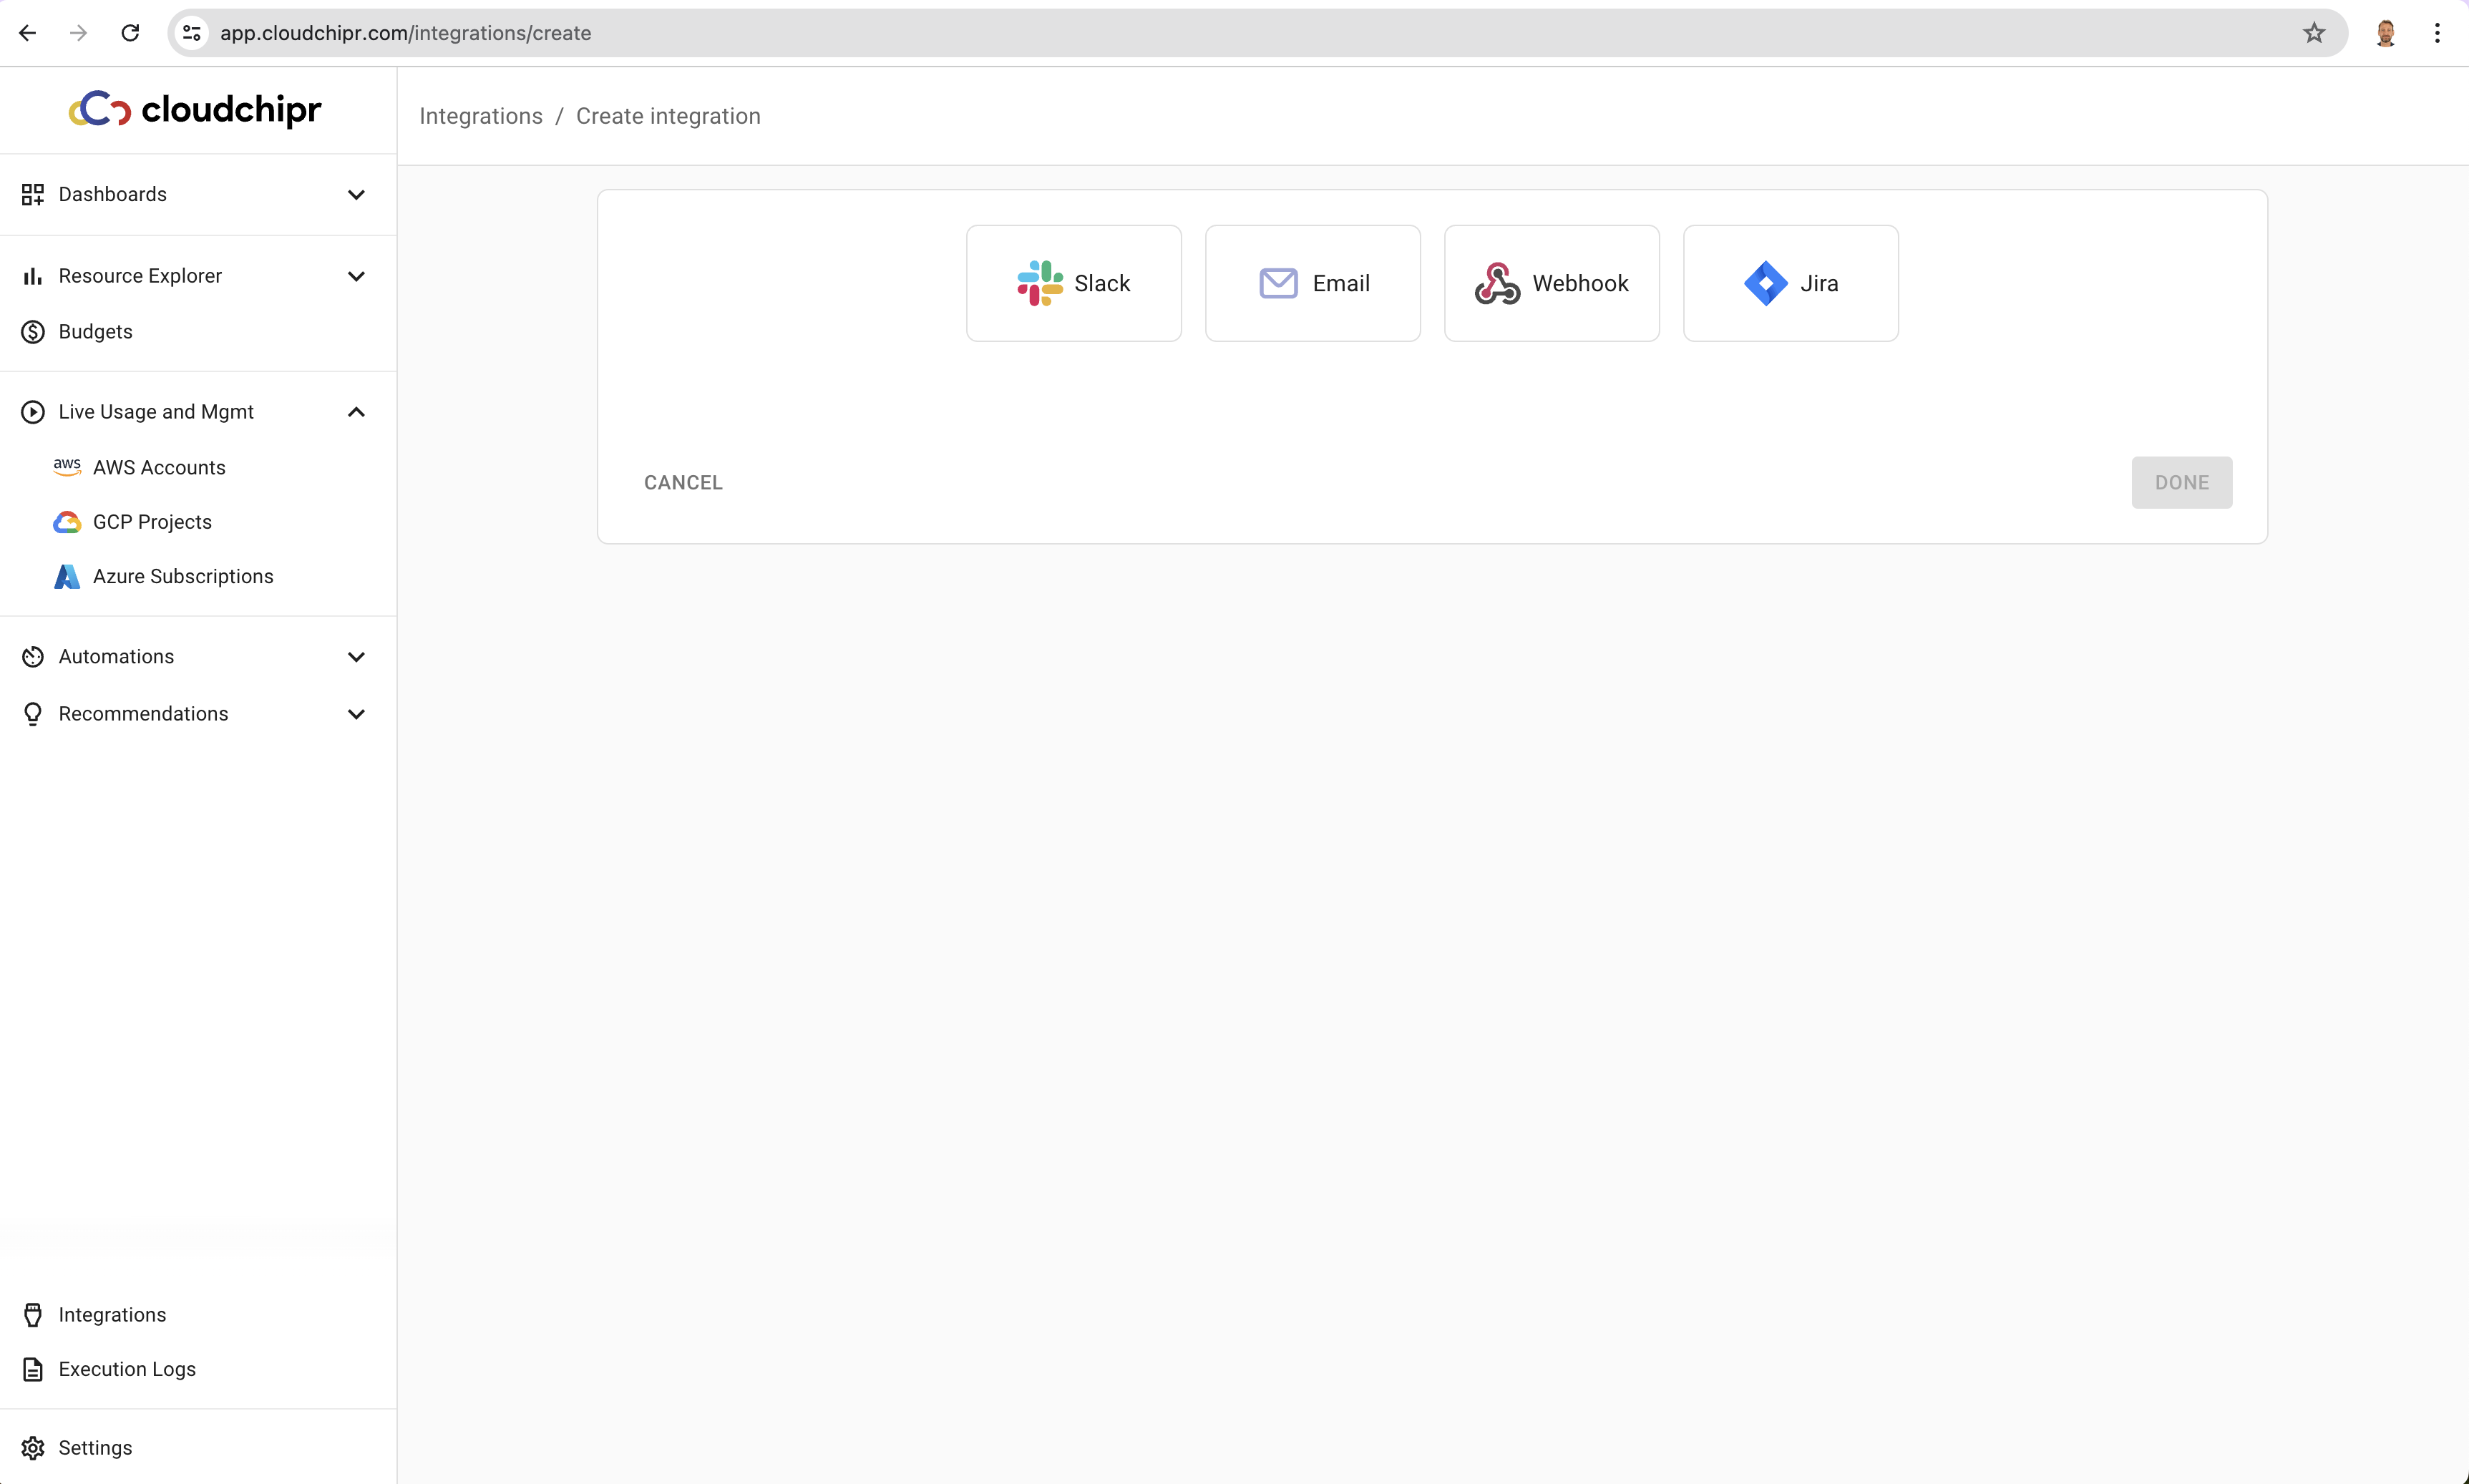
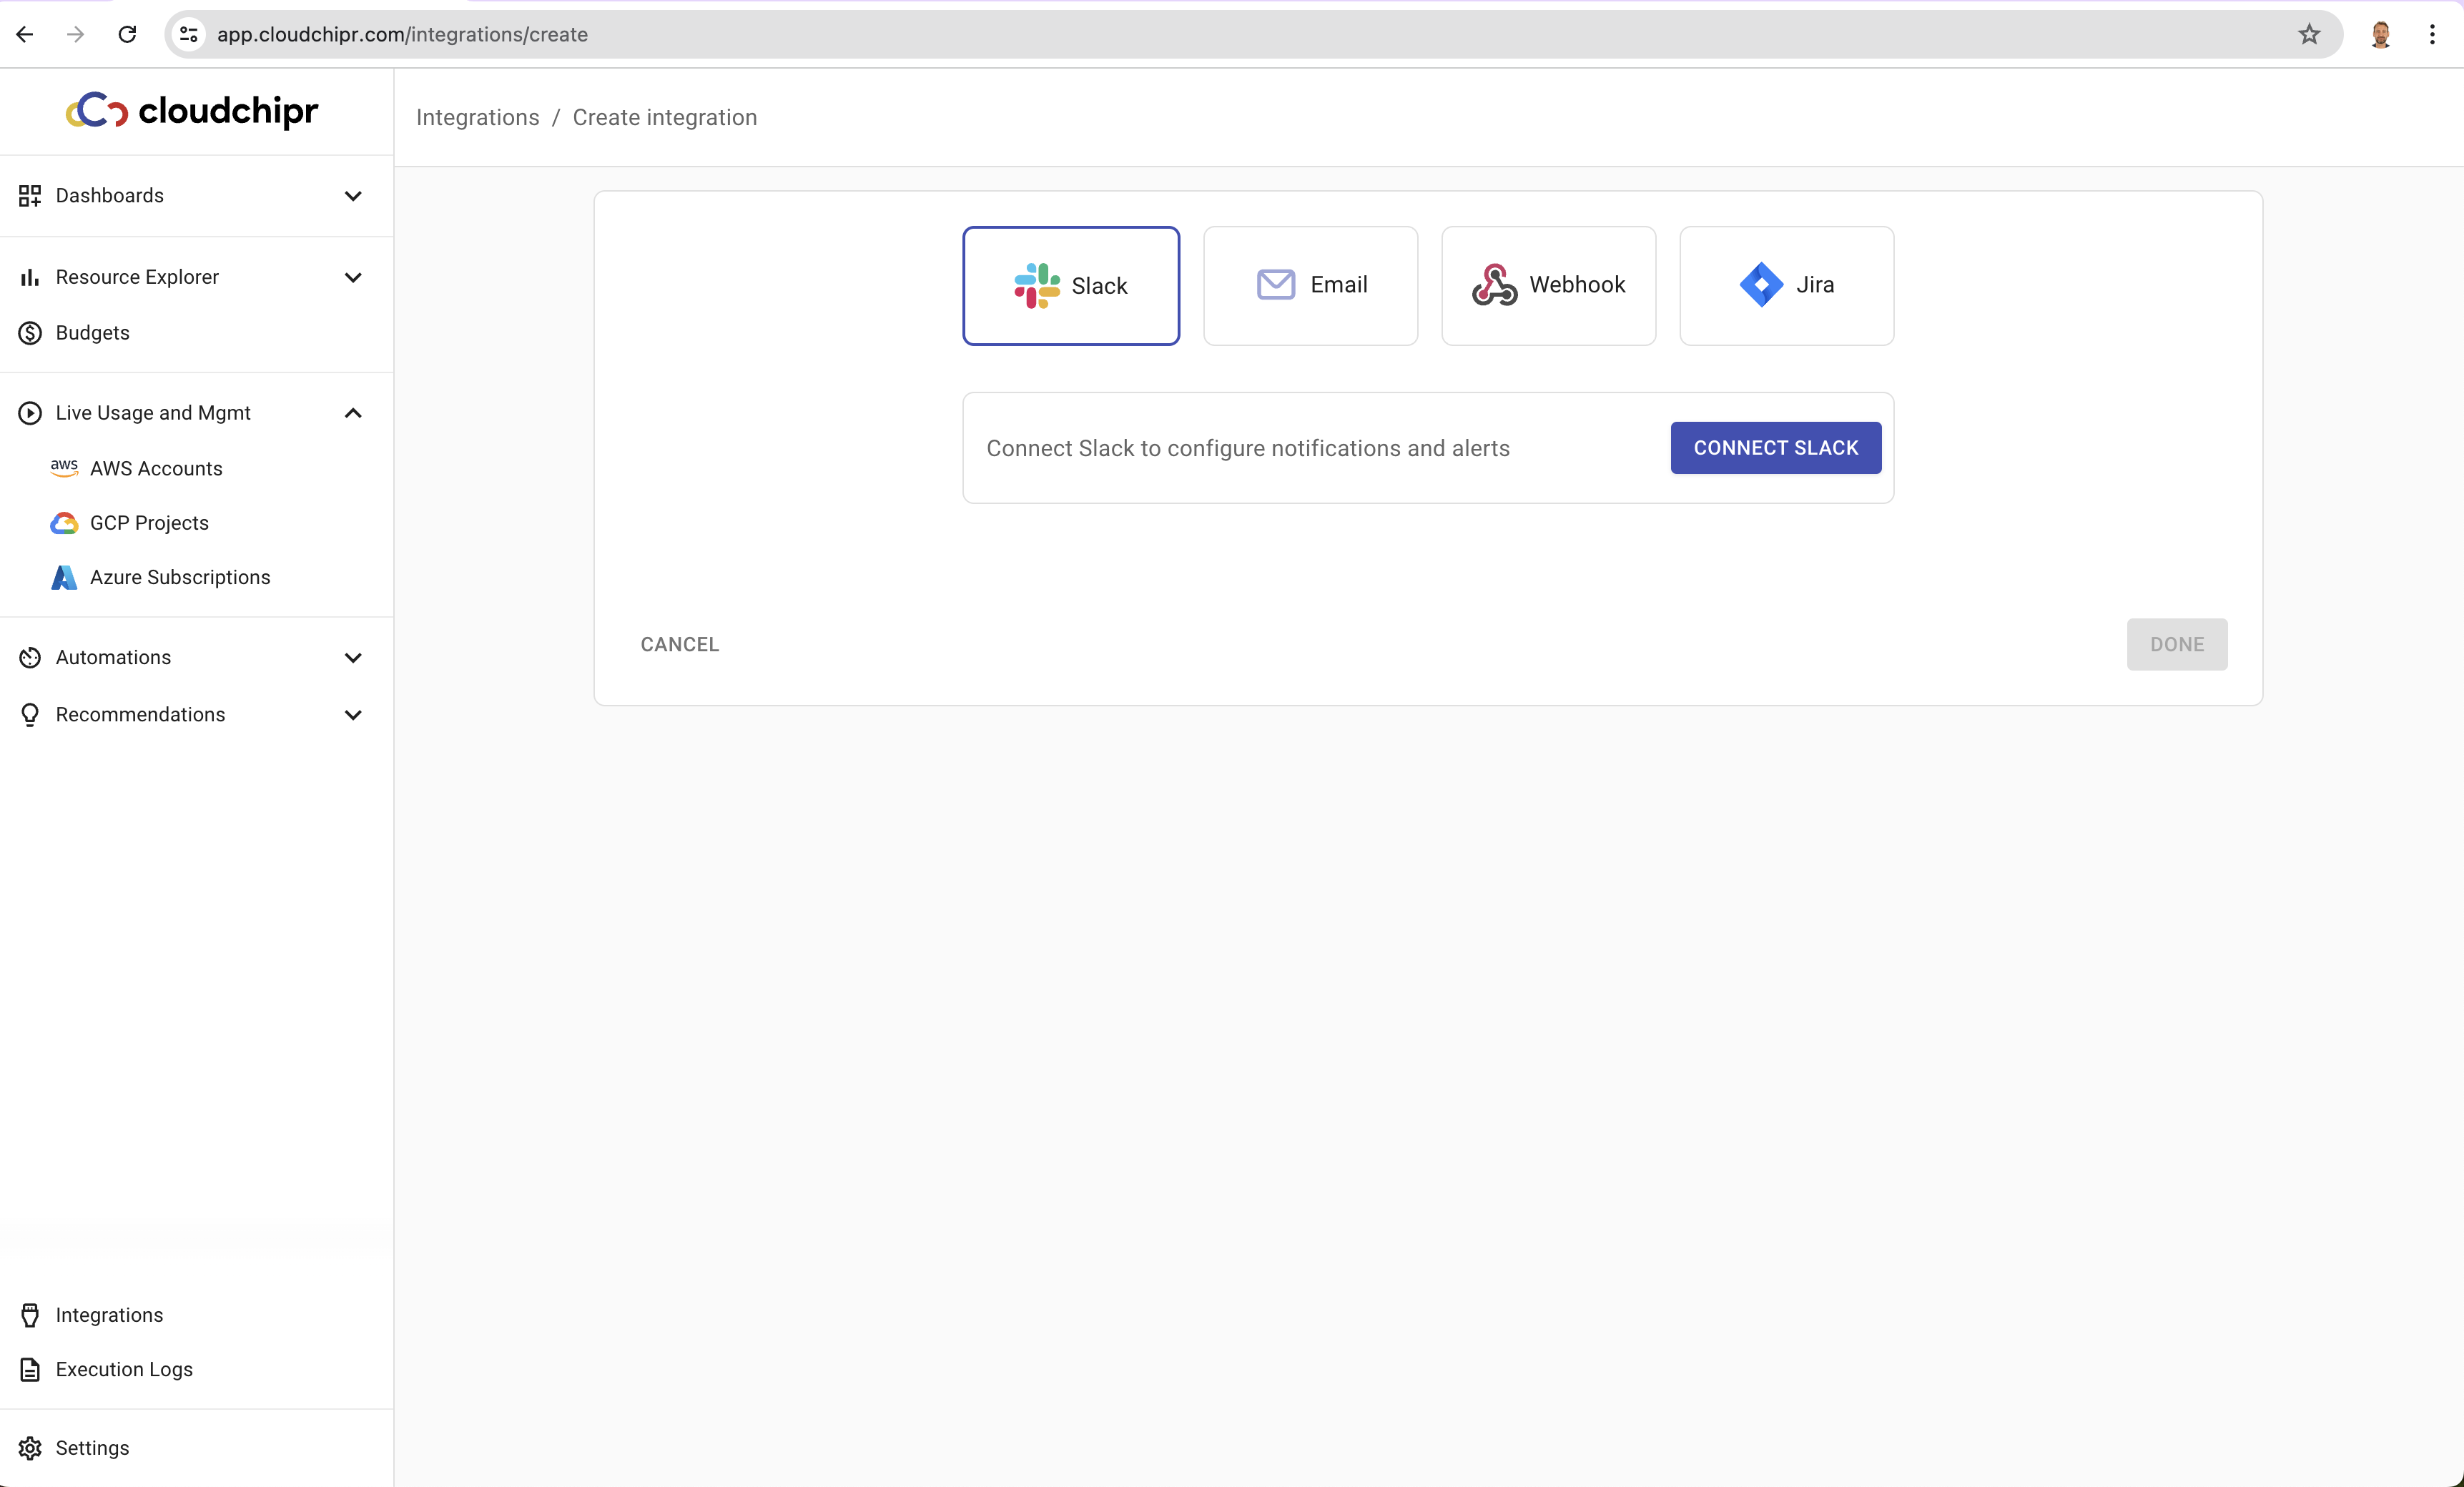
2. Choose Slack and hit the Connect Slack button
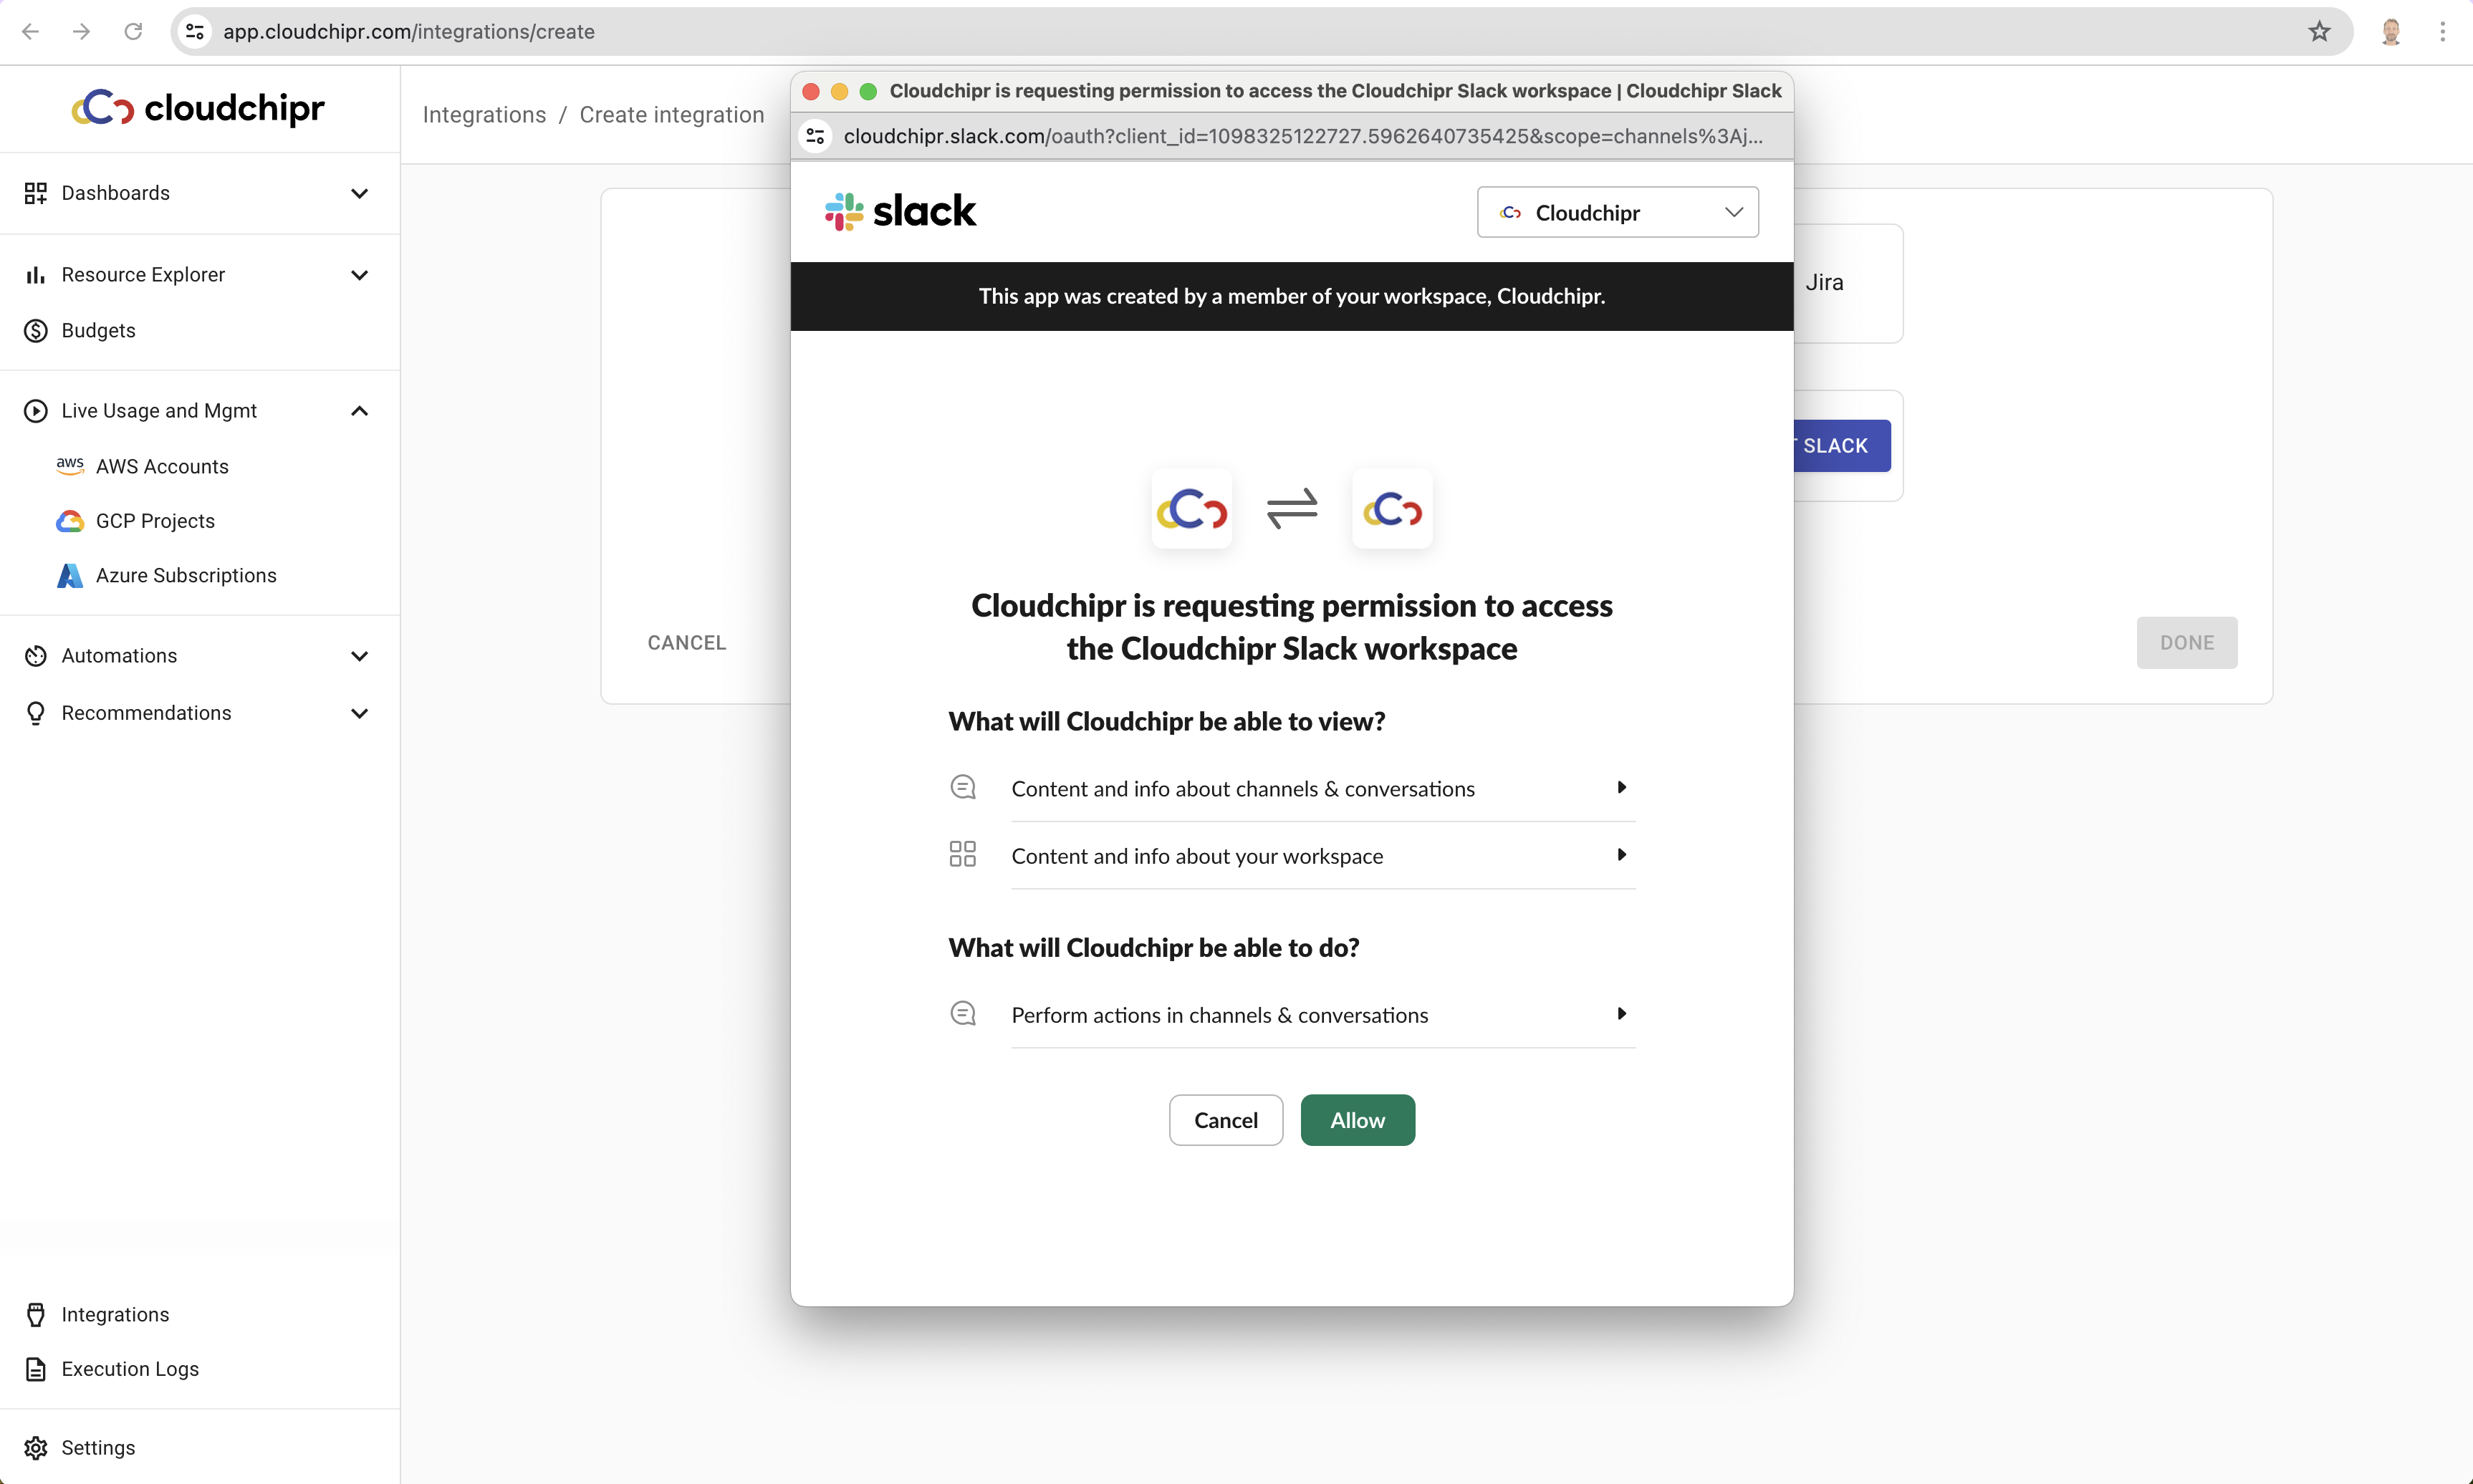
3. Review the requested permissions and hit the Allow button
3. Select your conversations
Cloudchipr is requesting the list of channels and individuals who will receive notifications. It is always possible to add more conversations later. Cloudchipr will show the selected list each time a Slack message is sent manually or when it is configured in the automation workflows.
Default conversation is an optional field that can be set to avoid choosing a channel every time.
After configuring the conversations, hit DONE

4. You are all set!
You can now use Slack within the platform and automation workflows.

Please note that to use private channels, you need to go into that private channel in Slack and add the @cloudchipr app.
How to use Slack in Cloudchipr.
- Sending messages from Live Usage & Mgmt section. See the guide for Slack in Send Messages & Create Tickets page under Live Usage & Mgmt section.
- Configuring Slack as a notification method in Automation Workflows. See the guide for Slack in Notification Methots in Automations page under Automations section.