Multi-Factor Authentication (MFA)
Overview
Two-factor authentication adds an additional layer of security to your account by requiring more than just a password to sign in. It is a security process that requires users to provide two different authentication factors, such as passwords or tokens, to verify their identity. Whenever you sign in with your email address and password, you also need to enter a security code generated on your mobile device.
This feature is available to all plan types and can be set up easily in your account settings.
Enable Multi-Factor Authentication
- Click on
Settingsin your sidebar. - In your Settings, select
Account Security. - In the Multi-Factor Authentication section, click on the
Enable Multi-factor Authenticationbutton to enable it.
Note: If you have SSO enabled, you will not have access to MFA.
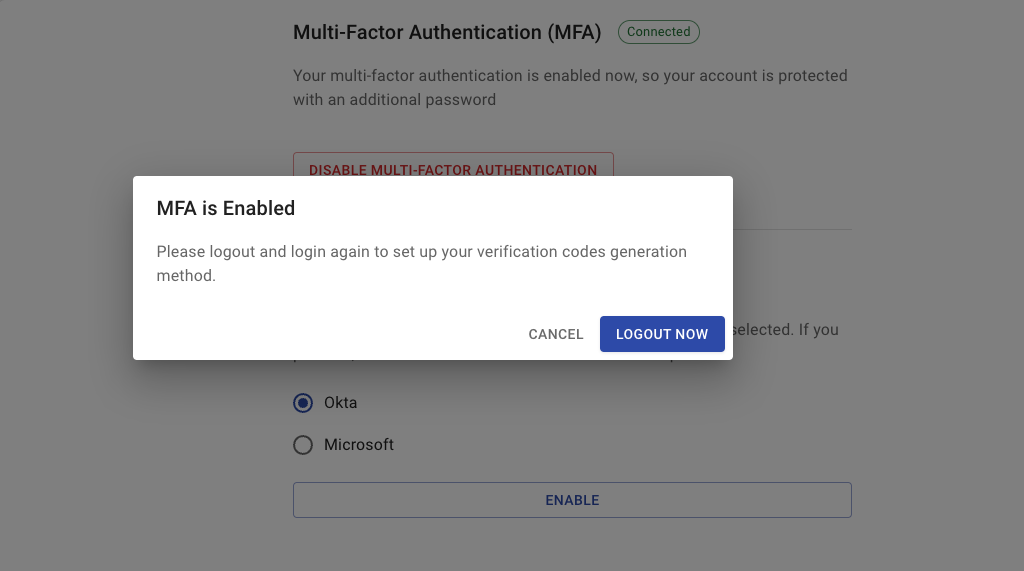
- Cloudchipr automatically enables MFA, and you need to log out and log in again to set up your verification code generation method.
You can select theLogout Nowoption or chooseCanceland perform this action during your next session.
- Scan the QR code from your chosen authenticator app and name the authentication method to help you remember it later.
- Enter a one-time code from the authenticator to complete the setup.
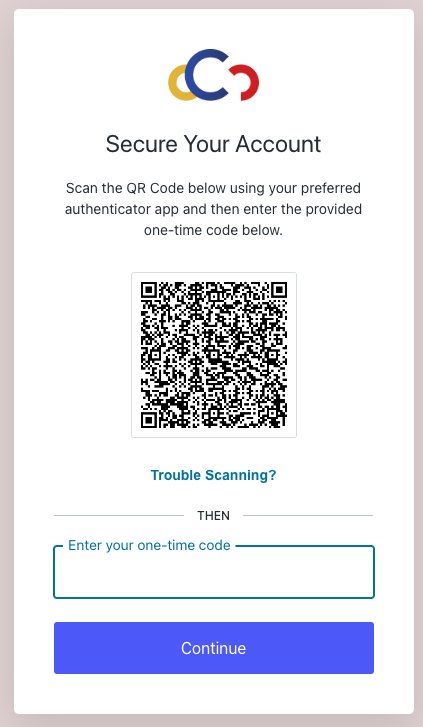
- Each time you log in you will simply need to enter the new automatically generated code that appears on the authentication app. Every 30 seconds the code will renew itself, so make sure to enter it quickly.
Updated about 1 year ago
Did this page help you?