AWS Setup
AWS Account connection takes a few clicks both for standalone accounts and organizational management accounts.
Prerequisites
Before you begin, ensure you have the following:
- Admin permission to AWS to be able to add cross-account access IAM roles.
- If you don't have access to your AWS accounts, you can invite someone from your organization to complete the account connection for you.
Step 1: Connecting Account
Select AWS as Your Cloud Provider: Select AWS as your cloud provider on Cloudchipr and click "Next".
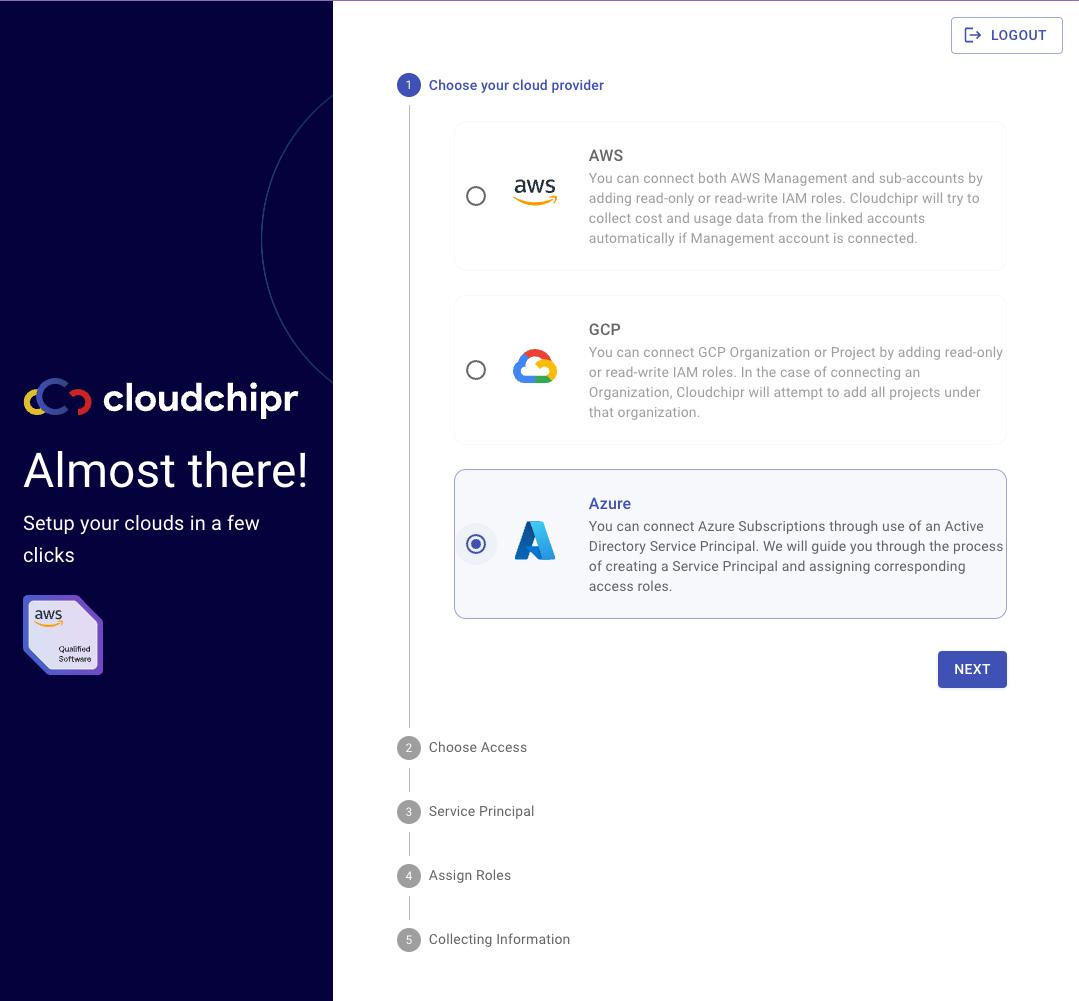
Step 2: Choose the Initial Access Mode:
Cloudchipr offers two types of access modes:
- Read/Write Access: This mode allows using automation workflows and actions. Cloudchipr will not modify any cloud resources at this stage. Confirmation will be requested before taking any action.
- Read-Only Access: Ideal for exploring cost-saving opportunities. This mode allows viewing cloud resources and sending notifications. It does not allow resource actions.

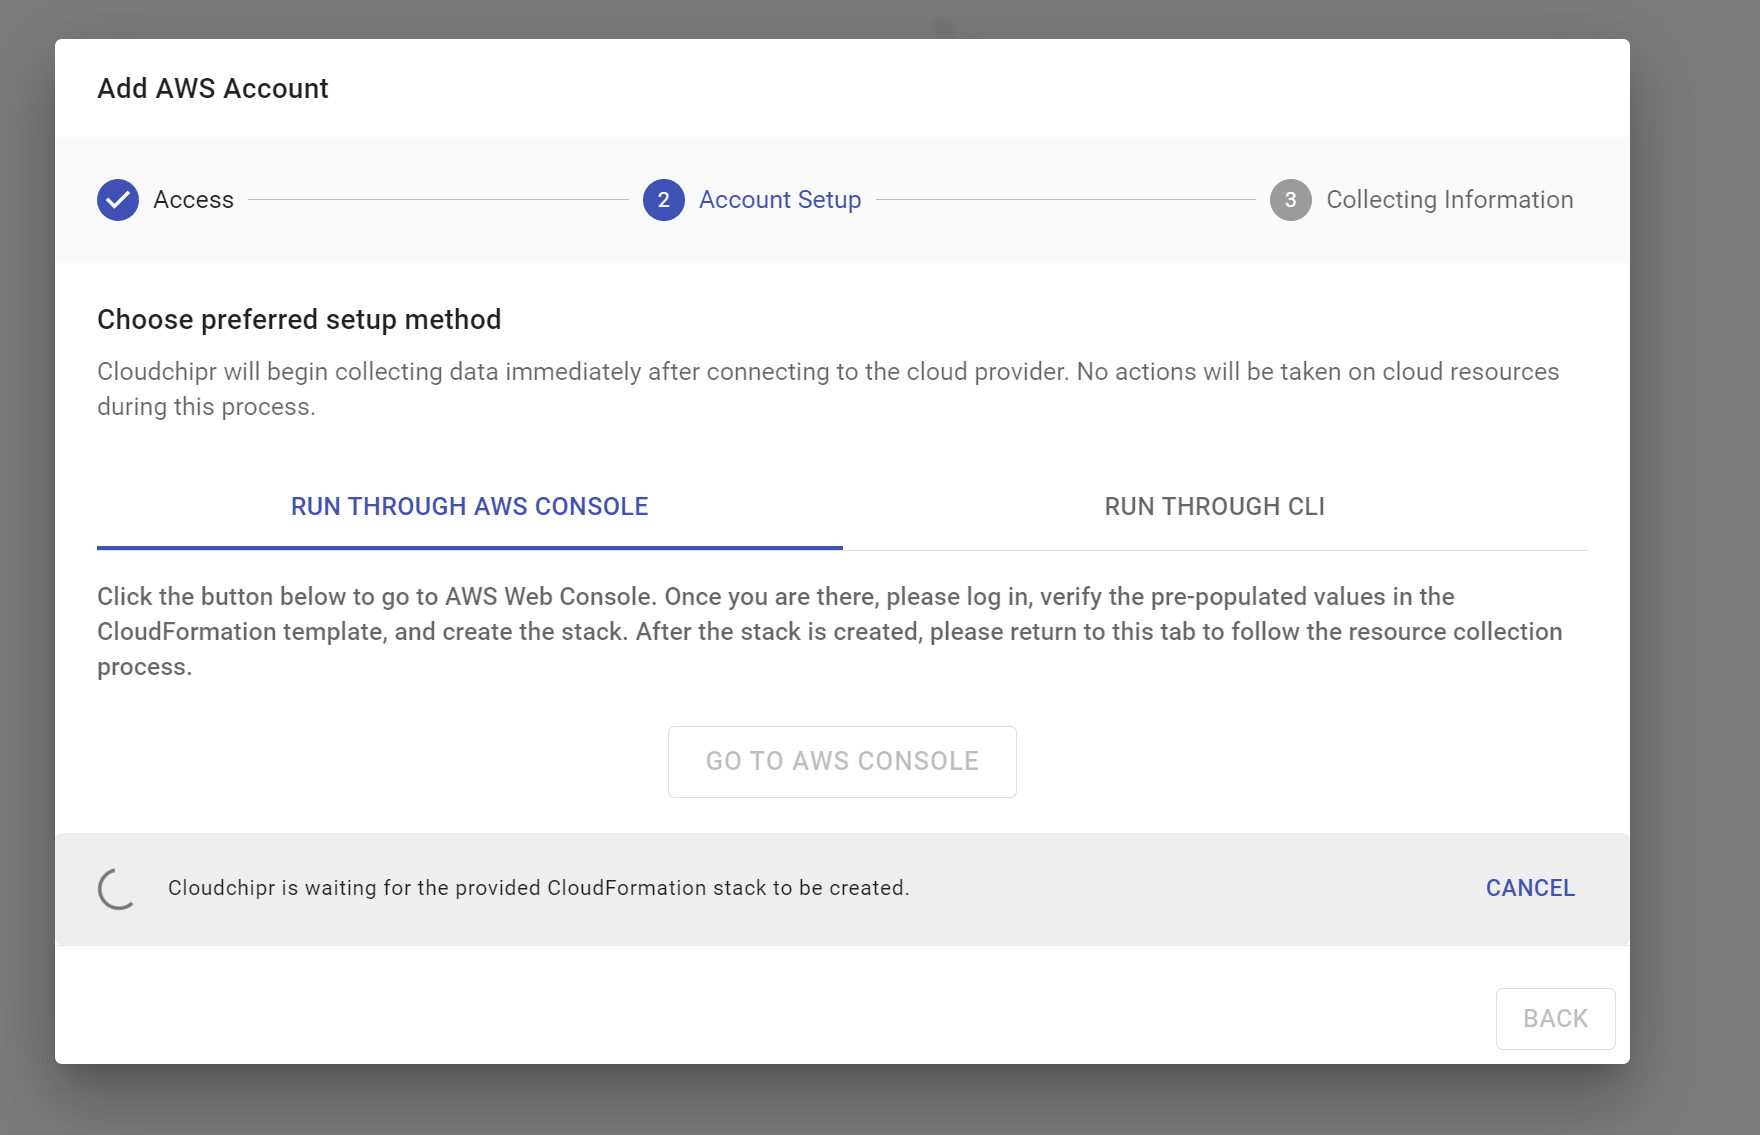
Step 3: Select Your Preferred Method for Configuring Permissions:
You can use AWS Management Console or AWS CLI to grant permissions.
- RUN THROUGH AWS CONSOLE
- If you choose AWS Management Console, you will be redirected to your AWS account. Once you are there, please log in, verify the pre-populated values in the CloudFormation template, and create the stack.
- RUN THROUGH CLI
- Before running the provided command, please make sure you have AWS CLI installed and are logged in to your desired AWS account. Then, copy and paste the provided command into your terminal and run it. Cloudchipr will monitor the progress of the stack deployment and will automatically detect when the necessary permissions are granted.
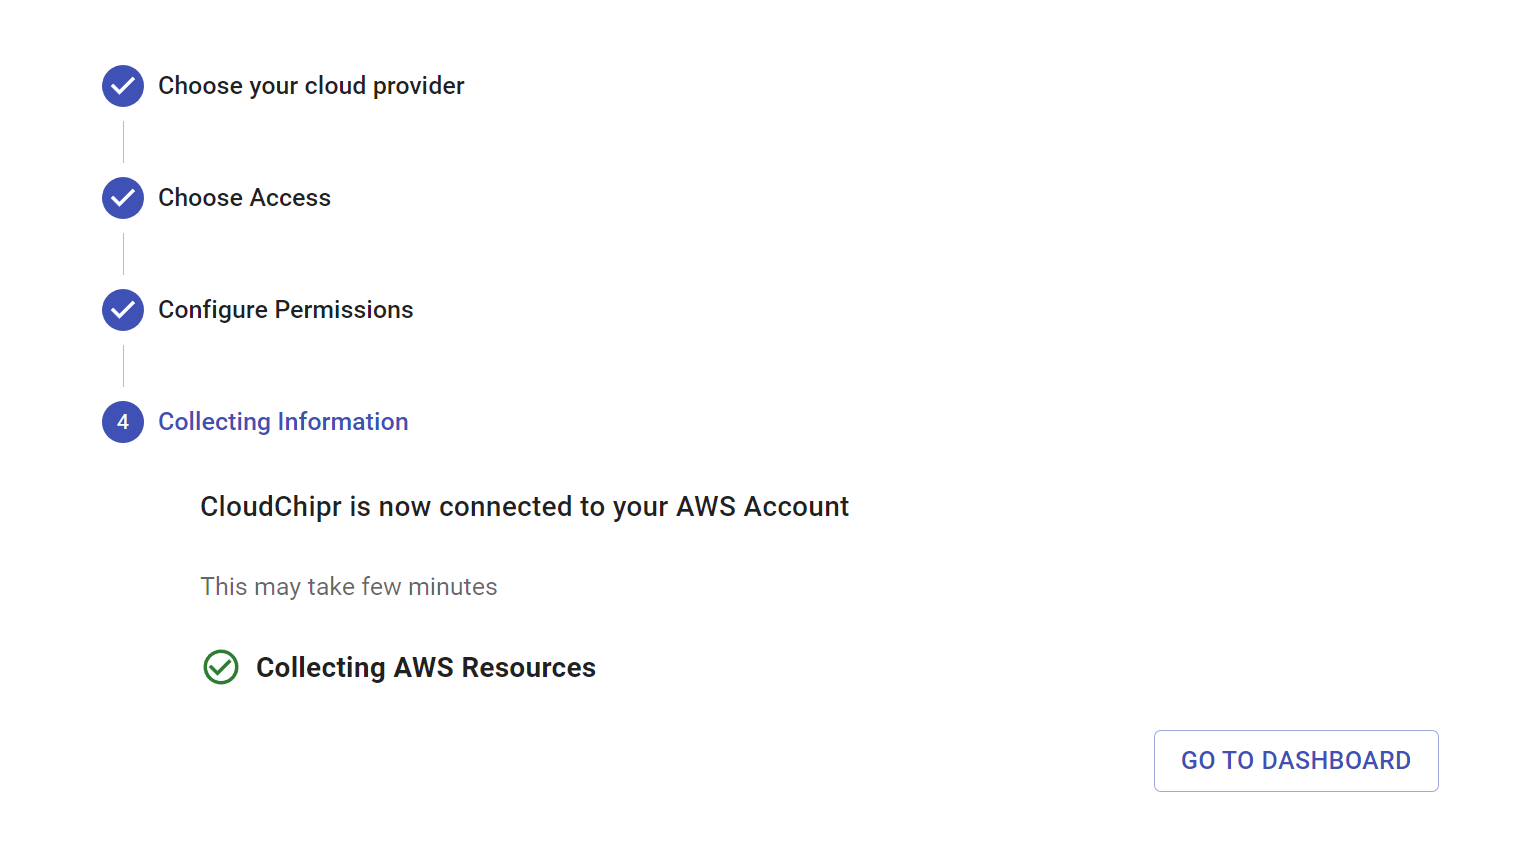
Step 4: Confirmation and Dashboard Access:
- After successful completion, a confirmation message will appear that Cloudchipr is now connected to your AWS accounts.
- Next, select GO TO DASHBOARD. This will take you directly to your Cloudchipr dashboard, where you can observe and manage your cloud costs.
Updated 6 months ago